Making felt is hard work but very satisfying - our children were thrilled with their creations, and enjoyed all aspects of the process! Younger children will need supervision, especially when the hot water is involved.
You will need:
Assorted wool roving (available online or from large craft retailers)
Sushi mat (we bought ours from the supermarket)
Liquid soap
Clean dishwashing cloth, muslin or net curtain
Tray or other flat surface that can stand being wet!
Instructions:
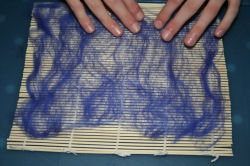
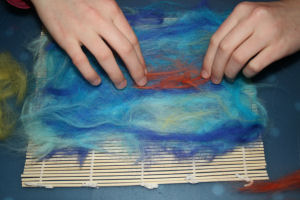
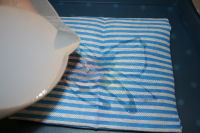
Place your sushi mat on your tray and place a layer of wool roving on top, laying it in one direction and spreading it out.
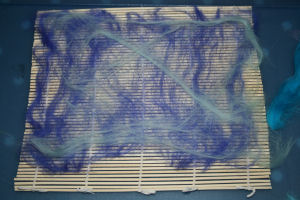
Add another layer of wool, this time laying it in the other direction; continue to add more layers (laying each one across the last) until you have a good thickness of felt and no visible gaps. You can use a different colour for each layer to build up your picture if you wish. Your layers can be thicker than ours .. we had small quantities of each of our colours and didn't want to use them up completely!
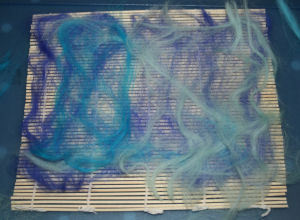
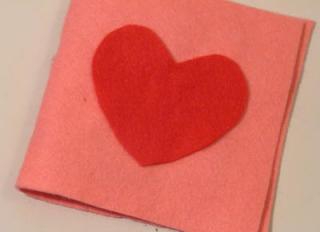
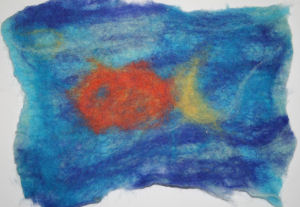
When you are happy with your base layers, start to add your picture details. Keep your design simple as the picture will get moved around in the process and it is hard to predict exactly what will happen!
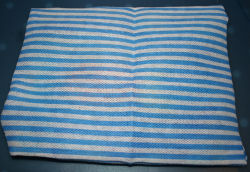
Now cover your picture carefully with a clean dishcloth.
Squirt on some liquid soap...
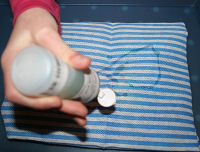
And pour on some warm water.
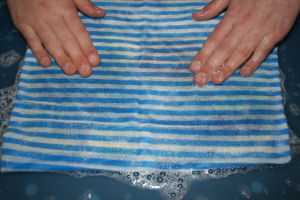
Now start "mushing". You need to rub all over your picture using your fingers, the palms of your hands, or even a wooden spoon when you get tired. Add more soap and water if necessary, and keep going for a good 10 minutes or so to make sure that the wool beneath the cloth begins to felt. You can also roll up the sushi mat and use your hands to roll it around in the tray if you like, but be careful not to twist as this may distort the felt.
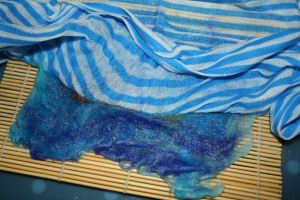
Gently peel back an edge of your cloth to check whether the wool has felted. If it has, keep pulling gently to peel the cloth away. You will need to hold the felt down and go carefully so that you don't damage the felt.
Put the felt in the sink and pour boiling water over it. This "shocks" the wool and helps the felting process. When it has cooled down, roll up your sushi mat and squeeze the water out. Rinse and repeat .. and repeat .. and repeat! Keep rolling and squeezing until you are sure that the soap is out of the felt.
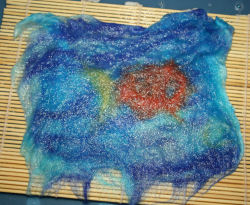
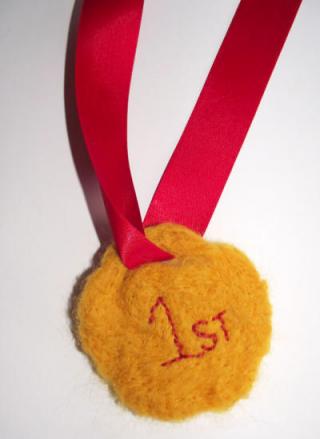
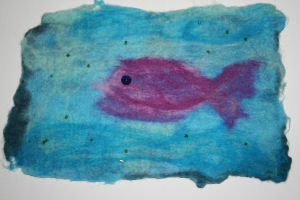
Put your felt - which should by now be a little drier than the one in the picture above - in a warm place to dry overnight. Trim the edges if you wish, and decorate with sequins and beads if you like.
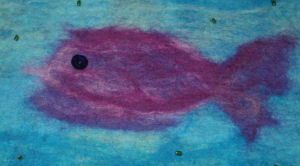
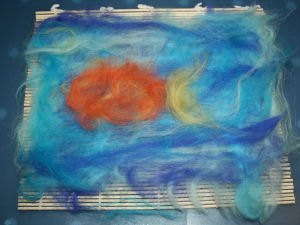
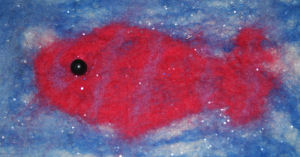
For the felt picture below, we sprinkled silver glitter into the wool as we built it up, and sewed on a black bead for the eye.
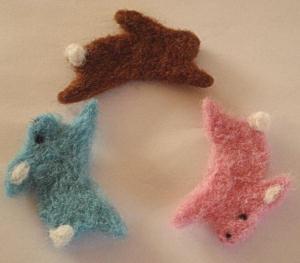
Our third felt picture has a sequin eye and bugle beads sewed randomly on the background for added sparkle and interest.